
To simplify the configuration process, Wi5stars is supplied with a gateway already completed with default values.
To complete the setup, simply follow a few easy steps.
In the General Data section, select the MikroTik type. Specify whether the device includes a native flash folder or not.
Then enter the RouterOS version if it is greater than 6. Figure Hardware Type and RouterOS Version
In the Web Management session, enter the password of the MikroTik Admin user. Figure Web Management – Admin Password Entry
Scroll down to the Fields for Configuring the Gateway section. Then expand the Wireless section. Enable the WiFi Interface option if your MikroTik device includes a wireless interface, or select Wifi Wave or QCom Driver if the device uses a WiFi Wave or QCom wireless driver.
Then enter the desired SSID name, as shown in the video
Enable Use Wireless only if you have a wireless card in your MikroTik gateway.
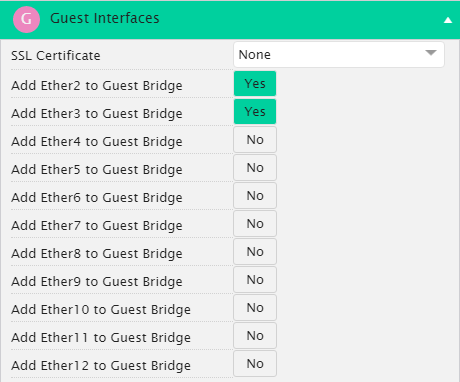
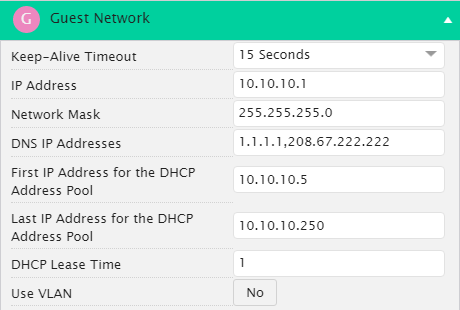
The fields inThe fields in the Hotspot section come preconfigured with default values, including the IP address, network mask, DNS server IP, the starting and ending IP addresses for the DHCP pool, and the DHCP lease time, as shown in Figure Guest Interfaces and Figure Guest Network
If you choose not to use the default values, you must manually fill in all the hotspot-related fields, including the SSID, IP address, DHCP pool, and other
Click the Save button on the top right of the page.
Follow these steps only to run the manual configuration.
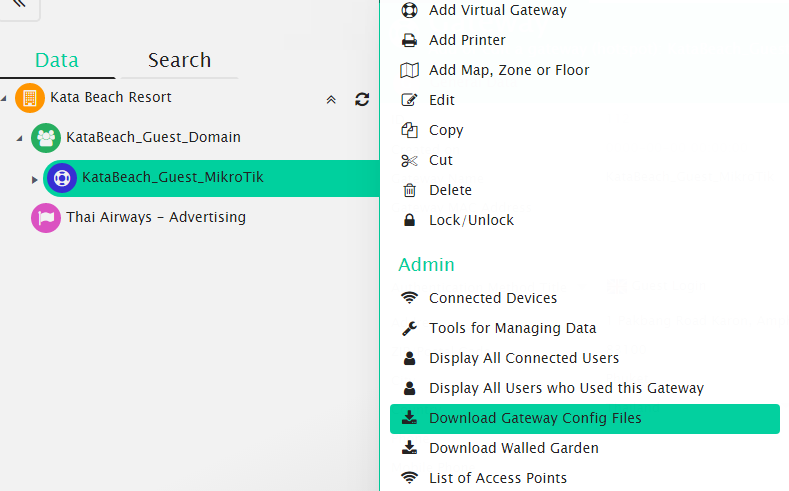
Select your gateway, and click the contextual dropdown menu.
Scroll down to Download Gateway Config Files and click it.
Double-click the ZIP file to open WinZip.
Unzip the files by selecting all the files and clicking Extract.
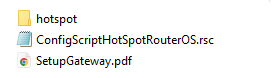
Select the destination folder for the extracted files and save them.
Now, depending on whether your MikroTik device has a native flash folder or not, follow the appropriate upload session.