
This chapter describes how to configure LigoWave Infinity.
Before proceeding further with the configuration, you need to configure Wi5stars configured with a domain and a gateway as described in Adding a New Gateway.
You can access the Management Interface in two ways:
Connect the AP to a network with an active DHCP and determine the assigned IP address.
Open the browser and type the IP address assigned by the DHCP.
Connect the device to your PC.
Assign the network address 192.168.2.10 to your PC.
Assign the subnet mask 255.255.255.0 to your PC.
Assign the gateway 192.168.2.1 to your PC.
Open the browser and type the IP address 192.168.2.66.
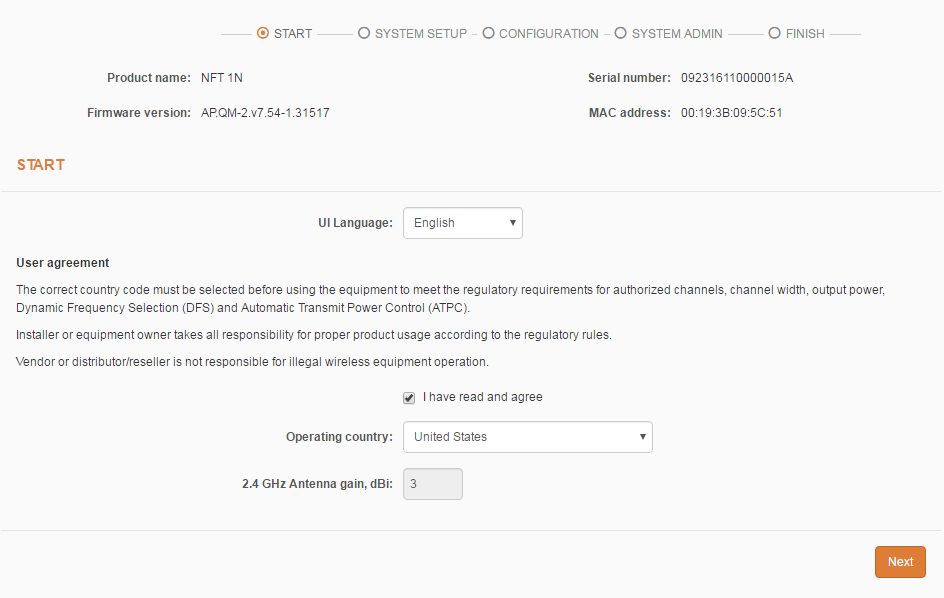
When accessing via browser for the first time, you can visualise the initial configuration wizard that allows you to define the essential parameters of the configuration.
Select the Language.
Tick the I have read and agree field to accept the terms of use.
Select the Operating country.
Click the Next button.

Choose the operating method (usually, “Master AP – Integrated”);
Click the Next > buttonto continue.c
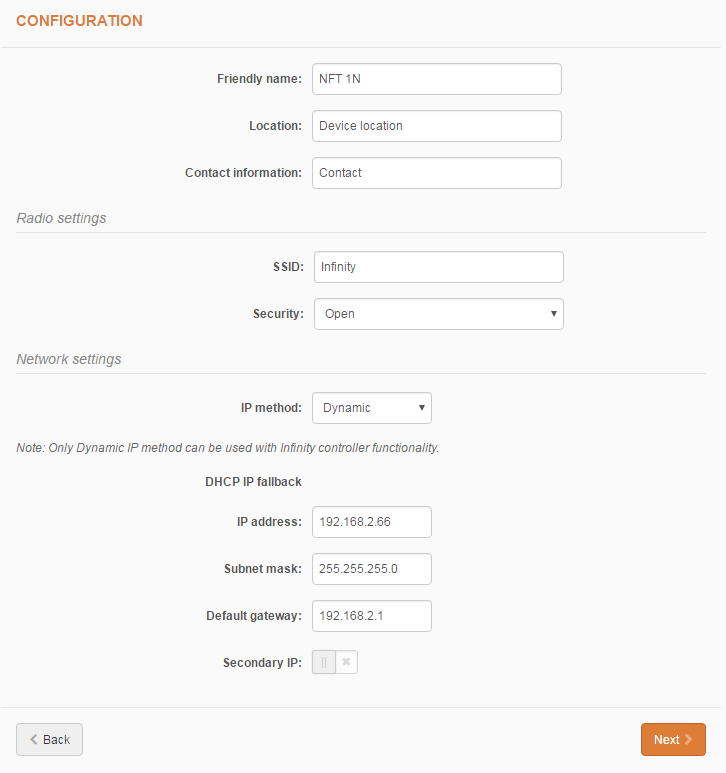
Enter the required data. Make sure that you select “Open” in the Security field;
Click the Next > button to save the entry and continue.
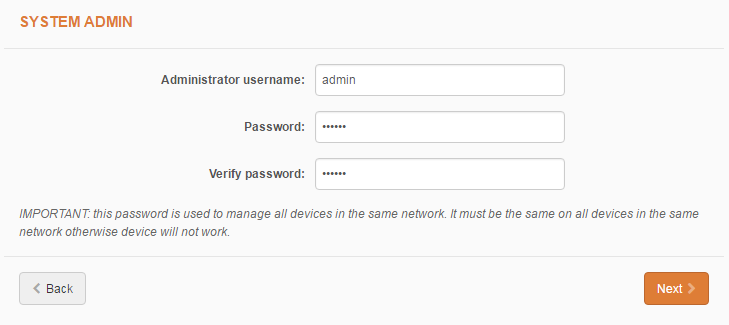
Enter the Admin user password.
Click the Next > button to save the entry and continue.
You will be displayed the summary of the configurations.
Click Finish to confirm and complete the basic configuration;
Wait for the saving of the configuration data;
In few seconds, a pop up requesting credentials will be displayed.
When requested, type the username and the password previously specified and then click Login.
Select the Controller icon ![]() at the top.
at the top.
Disable the Enable Infinity Controller option.
Click the Settings icon ![]() at the top.
at the top.
Click the Network configuration icon ![]() on the left.
on the left.
In the Network Mode field, select “Router IPv4”.
Configure WAN and LAN parameters properly by assigning IP classes (one for the WAN and one for the LAN).
Click the Wireless configuration ![]() icon on the left.
icon on the left.
On Wireless settings (AP) click ![]() to enter the data.
to enter the data.
In the Security field, select “Hotspot (UAM)”.
Click UAM settings to open the options.
Select the RADIUS Then, fill in the fields as follows:
Now select the Captive portal section.
In the Splash page type field, select “External”.
In the login URL field, enter http://Wi5starsURL/portal/index.php?domain=Wi5starsDomainName&hotspotname=Wi5starsHotSpotName.
Select the White/Black list section.
Enable the White/Black list auto update option;
Step 20 In the List URL field, enter http://Wi5starsURL/functions/walledgarden.php?domain=Wi5starsDomainName&hotspotname=Wi5starsHotSpotName.
In the List update interval (hh:mm) field, type “00:05” to enable automatic updating of the walled garden every 5 minutes.
Once completed, click the Done button on the bottom-right.
On NAS ID, specify a name for the Radius.
Click the Save changes button on the top-right to save the entries.
Now you can connect to the hotspot using the WiFi network name assigned during the configuration.
Once data are saved, to access again to the device configuration, you need to log in again. To do this, type in the browser the IP assigned by the DHCP or the one assigned during the network configuration.